I’m so glad you’re here to bake with me today. There’s something truly special about a batch of cute mini lemon curd tarts fresh from the oven. These little beauties remind me of weekend gatherings with my family, where the kitchen always smelled like citrus and sugar, and the best conversations happened over a mixing bowl.
Simple Ingredients for Cute Mini Lemon Curd Tarts

The beauty of these tarts lies in their simplicity. We’re working with just six core ingredients: all-purpose flour, cold butter, powdered sugar, eggs, fresh lemons, and a touch of sugar for that bright filling. The shortcrust pastry gives you that buttery, crisp foundation that holds up beautifully against the zingy lemon curd. I love this combination because it delivers maximum flavor without requiring a pantry full of specialty items. Making the curd from scratch is easier than you think, and you’ll taste the difference immediately. This is exactly the kind of wholesome, flavor-forward baking that brings people together.
Quick Prep and Baking Times for Lemon Tartlets
Let’s talk timing because I know your schedule is packed. You’ll need about 20 minutes to make and shape the pastry, plus another 15 minutes for the lemon curd filling. The pastry needs to chill for 30 minutes, which is perfect for cleaning up and prepping your tartlet pans. Baking takes about 15-18 minutes until the edges are lightly golden. This recipe works beautifully for a weekend project or when you need to whip up something impressive for unexpected guests. You can have these lemon tartlets ready in under 90 minutes from start to finish.
How to Shape Flower Lemon Curd Tarts

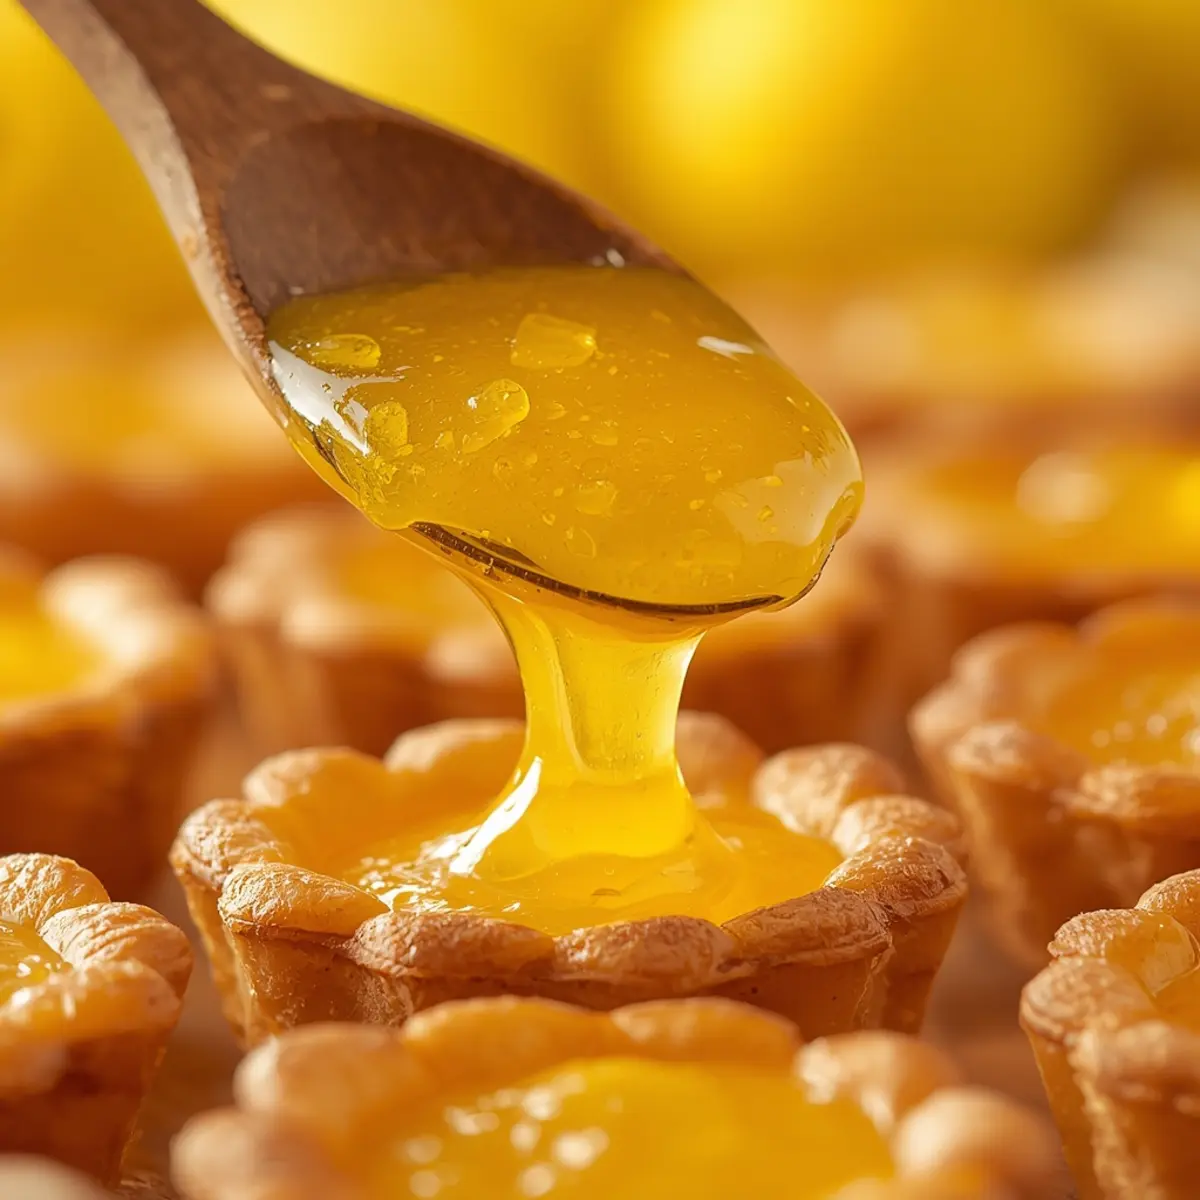
For the pastry, cut your cold butter into the flour and sugar until it resembles coarse breadcrumbs, then gently mix in just enough ice water to bring it together. Don’t overwork it-keep it tender! Roll it out and cut circles to fit your mini tart pans, pressing gently into the corners. I love using a small flower-shaped cookie cutter around the edges for that extra cute touch the source pin mentioned. Blind bake for 10 minutes with pie weights, then finish for 5 minutes without. For the curd, whisk eggs, sugar, lemon juice, and zest over gentle heat until thickened-patience is key here. Fill your cooled shells and chill until set. These lemon curd tarts are absolutely stunning when you add a second layer of petals with your pastry scraps.
Why These Mini Tarts Are a Crowd Favorite
There’s a reason these little tarts disappear so quickly. That first bite delivers a crisp, buttery shell followed by silky, bright lemon curd that wakes up your taste buds without being overwhelming. I appreciate that they’re portion-controlled too-each person gets their own perfect little treat. They’re ideal for afternoon tea ideas because they’re elegant but not too heavy. The flower shape makes them feel extra special for celebrations like Mother’s Day or Easter, but honestly, I make them on random Tuesdays when I need a little sunshine. These mini tarts hit that sweet spot between impressive and approachable.
Fun Twists on Your Lemon Curd Tarts

Want to make these your own? Try swapping regular flour for a gluten-free blend-the pastry works beautifully. For a dairy-free version, cold coconut oil replaces butter nicely in the crust. I love adding a handful of fresh blueberries to the filling before it sets for a gorgeous color contrast and flavor pop. You can also skip the flower shape and do classic fluted edges, or even make a giant tart and serve slices. For an adult version, fold a tablespoon of limoncello into the finished curd. These flower tarts are incredibly adaptable to whatever you have on hand or dietary needs you’re working with.
Avoiding Soggy Bottoms on Mini Tarts
The biggest complaint with lemon tarts is a soggy crust, but here’s how we avoid it completely. First, always blind bake your shells-don’t skip this step! When you’re pressing the pastry into your pans, make sure you get into every corner without stretching the dough. Second, let your shells cool completely before adding the warm curd; I usually pop mine in the fridge for 10 minutes. Third, don’t overfill-leave a tiny rim so the filling doesn’t spill over and create stickiness. If you’re worried about moisture, you can brush the baked shells with a beaten egg white and pop them back in the oven for 2 minutes to seal them. These little tricks make all the difference for perfect homemade lemon curd tarts.
Storing Homemade Lemon Curd Tarts
These tarts store beautifully, which makes them perfect for meal prep or making ahead of your event. Once filled and chilled, cover them loosely and keep them in the refrigerator for up to 4 days. The pastry stays crisp, and the curd maintains its silky texture. If you need to freeze them, do it before filling-bake and freeze the shells for up to 2 months, then thaw and fill fresh. The filled tarts don’t freeze as well because the curd can weep a bit when thawed. For the best presentation, add any powdered sugar or meringue toppings just before serving. Your guests will never know you made them a day ahead!
Bake These Cute Tarts Today
I hope you feel inspired to head into your kitchen and bake a batch of these delightful tarts this week. There’s nothing quite like the satisfaction of creating something beautiful and delicious from scratch, and these little lemon treasures are guaranteed to brighten anyone’s day. Whether you’re treating yourself or sharing with loved ones, I know you’ll love every bite. Tag me when you make them-I love seeing your kitchen creations! Happy Cooking, David Rivera.
Nutrition Facts (Per Serving)

Cute Mini Lemon Curd Tarts Recipe
Equipment
- Tartlet Tins
- Rolling Pin
- Whisk
- Zester
Ingredients
Main Ingredients
- 1 batch shortcrust pastry store-bought or homemade
- 4 large egg yolks free-range
- 100 g caster sugar
- 2 lemons juice and zest fresh
- 50 g unsalted butter cubed
Instructions
- Roll out the shortcrust pastry and press into tartlet tins, using the edges of a flower shape if desired.
- Whisk egg yolks, sugar, lemon juice, and zest in a heatproof bowl over simmering water.
- Cook until the mixture thickens, then whisk in the butter until smooth to create the curd.
- Fill the pastry cases with the lemon curd and chill until set.
Frequently Asked Questions
What ingredient substitutions can I use if I don’t have all the items for the lemon curd tarts?
For the pastry, you can swap all-purpose flour with a 1:1 gluten-free baking blend; for a vegan version, use coconut oil or vegan butter in place of dairy butter. For the lemon curd, replace fresh lemon juice with bottled lemon juice or a mix of lime and orange juice for a similar citrus brightness; use coconut oil or vegan butter instead of dairy butter, and agar agar or cornstarch slurry for thickening instead of eggs. If flower-shaped tart pans are unavailable, standard mini tart pans or a muffin tin work well. Avoid substituting granulated sugar with liquid sweeteners, as they can alter the curd’s texture.
How should I store the lemon curd tarts to keep them fresh?
Store the tarts in an airtight container in the refrigerator for up to 3-4 days. Place a sheet of parchment paper between layers to prevent sticking. The lemon curd can be refrigerated separately in a sealed jar for up to 1 week. If the tarts become soggy, refresh the pastry by placing them in a 350°F (175°C) oven for 5 minutes before serving. Avoid freezing the assembled tarts, as the curd may separate; however, you can freeze baked pastry shells and curd separately for up to 2 months, then assemble after thawing.
Can I make the mini lemon curd tarts ahead of time?
Yes, this recipe is ideal for prepping in advance. Bake the flower-shaped pastry cases up to 2 days ahead and store them in an airtight container at room temperature. Prepare the lemon curd up to 3 days ahead and refrigerate it. Assemble the tarts no more than 4-6 hours before serving to maintain the pastry’s crispness and the curd’s glossy texture. For longer make-ahead options, freeze the baked shells and curd separately, then thaw and assemble on the day of serving.
What is the best way to reheat the tarts without ruining the texture?
These tarts are best served at room temperature, so reheating is generally not needed. If they’ve been refrigerated, let them sit at room temperature for 20-30 minutes to soften the curd slightly. To refresh the pastry, preheat your oven to 325°F (160°C), place the tarts on a baking sheet, and warm for 5-7 minutes-avoid microwaving, as it can make the pastry soggy and the curd watery. If the curd looks dull, a quick 1-minute blast under a broiler on low can restore shine, but watch closely to prevent browning.
What are some serving suggestions for these cute mini lemon curd tarts?
Serve the tarts chilled or at room temperature on a decorative platter, garnished with fresh berries, mint leaves, or edible flowers for a vibrant contrast to the yellow curd. Pair them with a dollop of whipped cream or a scoop of vanilla ice cream for added indulgence. They’re perfect for afternoon tea, picnics, or parties-arrange them in a flower pattern on the serving tray to echo the pastry shape. For a citrus twist, dust with powdered sugar and add thin lemon zest curls on top.
Have more questions? Leave a comment below and we’ll help you out!