Here's How To Pour Layered Shots For That Perfect Aesthetic Effect
When you're at your favorite bar, it can sometimes feel like your local bartenders have access to a sorcery you could never dream of. The creation of flaming cocktails and layered shots are just some of the powers they demonstrate to the awe of everyone around them. But now, drink enthusiasts can harness this magic in the comfort of their very own home with a few simple tips.
Layered shots appear to be one of the most complex of these skills, but with the help of modern magic — aka science — anyone can learn the practice. The most important thing to keep in mind is a steady hand. Being able to pour the layers consistently is what separates the amateurs from the experts. Barring that, the only thing keeping at-home bartenders from perfecting the layered drink is understanding the composition of the liquids. Denser liquids should naturally be the first layer, while lighter ones will sit comfortably on top. Liquors that have more sugar are heavier and will always sink to the bottom. With these principles in mind, you can commence your new calling as a layering expert.
Use the proper tools

Once you have determined the densest liquid to layer first, the real work begins. Grenadine is a perfect example of a mixer that should be on the bottom since it is heavy in sugar. The next step gets a little more complicated and requires a bartender spoon to complete. Laying the back of the spoon just above the first layer, pour the next layer, which should be lighter in density, steadily on top. Due to the twisted handle on the spoon, the liquid will be dispersed evenly over the first layer as it travels down the utensil. For generations, bartenders have celebrated the versatility of this bartender tool. Spoons with jiggers on the end will make this process even more streamlined. Make sure you clean the spoon following each layer to avoid contaminating the aesthetically pleasing visuals.
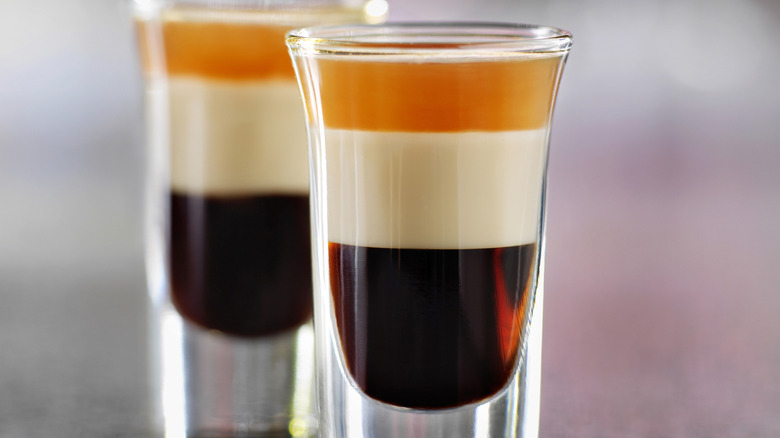
According to the Diageo Bar Academy, liquids should be cold since the cooler temperature increases their density and improves their ability to layer. This applies especially to liqueurs. When creating a Guinness shot, for example, chilling the Kahlúa Coffee Liqueur ensures it will stay on the bottom as the layer should be. And while it may be a no-brainer, pouring it into a clear glass helps compose everything evenly.
Trust the bartenders

Your first attempts at making layered shots likely won't be flawless. This skill may take several tries to get right. But even the experts struggle with these visually pleasing shots. Many people order drinks that have bartenders shaking their heads, and layered drinks are among them. Evidently, bartenders find the process just as complex as the rest of us.
"You not only have to pour each layer carefully to avoid breaking the surface tension, but you also need to remember the proper order of ingredients or it could turn into a muddy mess," Paul Kushner, bartender and CEO of MyBartender, told Best Life. Keeping all the information straight in a professional setting with potentially drunk customers all around could certainly be stressful. Fortunately, making a layered shot at home is a completely different situation. And now that you know what goes into the perfect technique, you'll appreciate your bartender's efforts all the more.