How To Create A Gorgeously Colorful Ombré Frosting On Your Next Cake
Have you ever wondered how to create those stunning ombré frosting shades that so beautifully adorn cakes and treats you see splashed all over social media? According to Food & Wine, the secret lies in first dividing your frosting into separate bowls. This way, you can properly separate the colors and achieve the perfect gradient effect layer by layer, with about two kinds of frosting for every layer so they fuse together seamlessly.
But how do you get the perfect shades of color to start with? Southern Living suggests it's best to choose one shade of food dye, then mix three different hues of that shade. That way, you can gradually achieve the desired fade without having any jarring color transitions. From there, you'll grab the only two tools you need to pull off this hack: a piping bag and a bench scraper.
Once you have your colors, all you have to do is pipe them around the cake in three evenly-distributed layers. Use the bench scraper to spread and blend the colors together to create the eye-catching ombré effect. Alternatively, leave less space between the rings for a more defined effect.
Don't be afraid to experiment with different color combinations and patterns to find the one that suits your style. After all, a beautiful cake is not only a treat for the taste buds, but also a delight for the eyes. Here are a few ways to enhance the visual appeal of any ombré cake you bake.
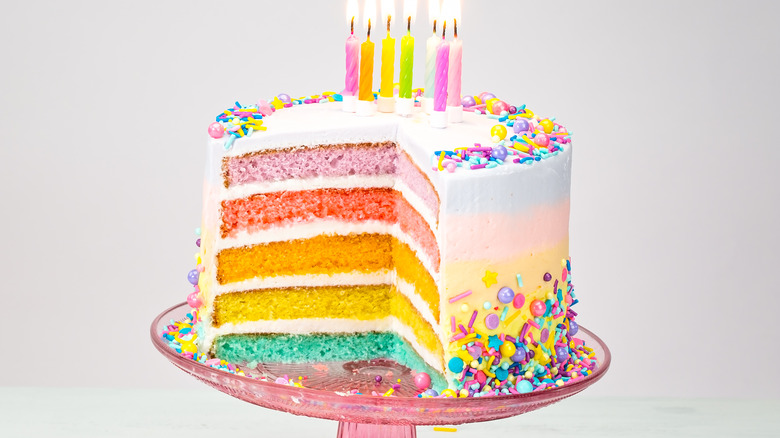
Variations of the ombré frosting technique

While there are various sources to find inspiration and guidance from, all seem to agree on one fundamental technique: you need to have different frostings in separate bowls or piping bags. Piping bags tend to be the easiest way to apply the frosting, allowing for a more controlled and precise application. However, some cake experts suggest that using a spatula to spread the icing is just as effective.
Once you're ready to start creating that vibrant ombré effect, you can use a popular method recommended by Betty Crocker. This technique involves piping a layer of frosting onto the cake, spreading it out, and then repeating this process for each subsequent layer. It allows you to have more control over the color intensity and blending of each shade.
Alternatively, you can use the "spread all at once" technique, which is more suitable for those looking for a fuss-free method. This method involves piping all the different shades of frosting onto the cake, and then spreading them out all at once using a bench scraper. It's the ideal option for those with less experience, as it requires fewer steps, but still delivers beautiful ombré results.
If you're worried about achieving the ombré effect perfectly or are seeing layers of cake peeking through, start with a thin layer of white icing on your cake. Let it cool before adding your colored frostings, and use the same methods mentioned earlier.
How to properly color your icing

So, you've decided to create a stunning ombré frosting for your next cake. You've imagined the gorgeous gradient that will cascade down the sides of your cake, seamlessly blending from one hue to the next. But, alas, you've fallen short of achieving that desirable ombré effect. What went wrong? Most likely, it's the colors (or another one of these cake frosting mistakes).
One common mistake that most people make when trying to create an ombré effect is thinking that using colors that are too similar will suffice. However, the key to achieving a seamless gradient is to use different hues of the same color. For instance, if you're going for a pink ombré effect, start with a light pink color and gradually add more drops of food coloring to each subsequent layer until you achieve the desired dark pink shade.
Using the right kind of food coloring is equally important. Gel-based food colors are usually best as they're more concentrated, meaning you won't have to add as much to achieve your desired shade. Plus, they won't affect the consistency of the icing, ensuring a smooth and creamy texture throughout.
With these tips handy, you'll be able to create a stunning ombré effect for your next cake easily. Bring on the compliments and the "oohs" and "aahs" as you present your masterpiece, all while enjoying the sweet indulgence of a gorgeous ombré cake.