How To Mise En Place Your Grilling Tray For Stress-Free Cook-Outs
The perfect barbecue night is simple: All you need is the right weather; good friends and family; and, of course, great food.
If you're the grillmaster, you always want to have everything go perfectly while making it look effortless and, hopefully, to have some fun doing it. The best way to make sure you're juggling all your tasks like a pro is to do a little advance planning before your backyard crew shows up. Take a few minutes to set up your grilling tools, get everything you need from the kitchen in one place, and prep your food for cooking. In other words, get your mise en place together.
Even if your grill is just a few steps away from the kitchen on the back porch or patio, you can spend less time running back and forth by setting up a grilling tray using a sheet pan in the kitchen before you start cooking. That way, you'll always have what you need right at arm's reach, and you won't overcook anything by walking away to rifle through a drawer or the refrigerator. Plus you'll have more time outside to hang out with your barbecue buddies and show off your expert grill marks.
Make a tray with a sheet pan

A sheet pan is perfect for gathering all your barbecuing ingredients and tools together for a couple of reasons. First, it's washable in case you spill any marinade or sauce (which you probably will), not to mention standing up to any splattering or juice from your cooked food. A sheet pan is also heatproof, so depending on how close to the actual grill you can place your tray, you don't have to worry about it melting (or catching on fire!). Sheet pans also have rolled 1-inch edges on all four sides, as opposed to cookie sheets that often only have edges on one or two sides. These built-in barriers will keep your ingredients and tongs from sliding off as you move from the kitchen to the grilling area.
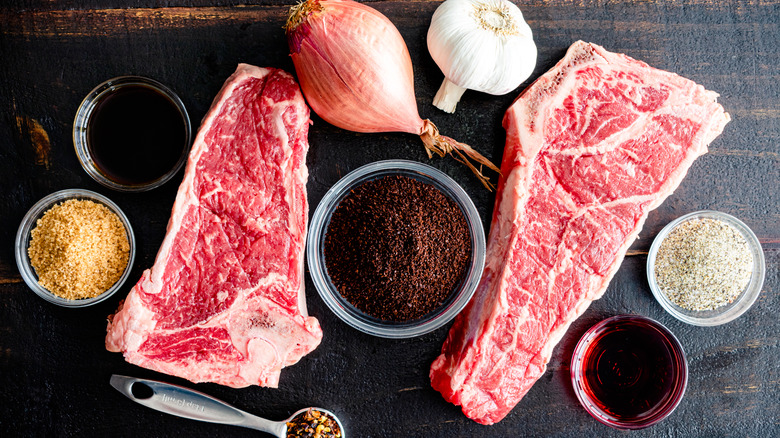
As you're trimming steaks or skewering kabobs, have your tray at the ready so you can load it up as you work through your prep list. Designate one side of the tray for ingredients, veggies, and marinades, and the other side for tools. Make sure you have the basics: tongs and a spatula for flipping and turning, a grill brush or brick for cleaning, a meat thermometer, salt and pepper for seasoning, a couple of kitchen towels, pieces of aluminum foil for tenting cooked meats, and a container of cooking oil for greasing up the grill grates. Clean oven mitts are also nice to have, as well as a few paper towels for spills.
Other extras

In addition to the basics, there are some other useful items to add to your grilling tray if you want to be a little extra fancy. If you're going to be basting anything with barbecue sauce or marinade, definitely don't forget to grab a silicone basting brush or a basting mop. It's also helpful to bring out a small sauté pan if you're planning to cook anything with small pieces, like diced onion, or will be frying eggs for topping burgers. If you'll be serving anything sliced, bring out a cutting board, which you can stack underneath your grill prep and take out when you set up outside; and don't forget a knife for slicing and a long grill fork for holding the hot food in place. Finally, a cold beverage is also a welcome addition to any prep tray.
In addition to your grilling tray, you can also set up a second prep tray for all the things you'll need when you serve your feast. Grab a second sheet pan and fill it with all the dishes, condiments, napkins, and sides you'll be serving, and you can take everything out to the patio or picnic table at the same time. As a bonus, your trays will be perfect for stacking everything up to bring back inside after the party's over.