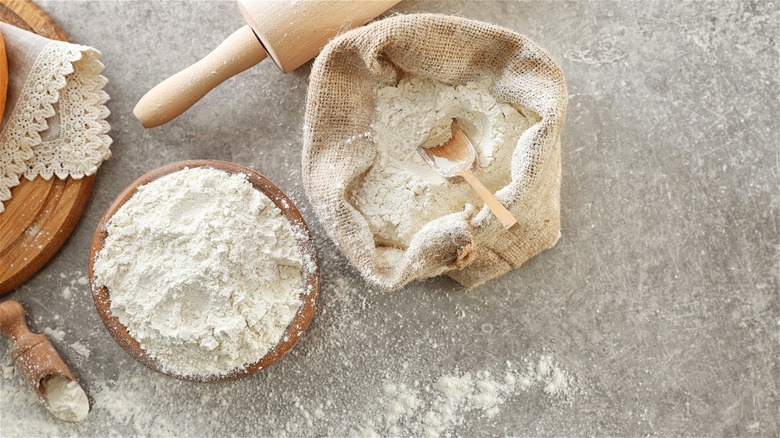
Not Fluffing Your Flour Before Baking Is A Serious Mistake
Let's say you recently decided to spend most of your Saturday morning baking blueberry muffins with salted honey crumble, yet were struck with utter disappointment as you faced a dry, crumbly baked good resembling stale blueberry muffins at mealtime. Butter would have been a much-welcomed reprieve at that point, but these newly baked unsatisfactory treats broke down amidst the inevitable spreading. What went wrong?
You made sure to use room-temperature butter and eggs. You even remembered to dust your freshly washed blueberries before adding them to your muffin batter so your fresh fruit wouldn't pool at the bottom of those pesky muffin liners. As it turns out, you may not have fluffed, or aerated, your flour before measuring, which could have potentially caused you to add too much of this finely ground wheat in the preparation process.
When you aerate flour, you're adding oxygen in and between the tiny grains, breaking up any compacted portions so your measurements are more exact. While measuring flour can be subject to change depending on the way in which you portion flour into measuring cups, 1 cup of flour should weigh roughly 120 grams or 4 ¼ ounces. If you're simply dunking your measuring cup into a weighty bag of flour without aerating, you may end up with more than the recommended amount. So how can you ensure you're fluffing flour correctly so you always end up with evenly moist baked goods?
The right way to fluff and measure flour in your favorite recipes
Before we get into the ins and outs of fluffing flour there are a few things worth noting. First and foremost, aerating is not synonymous with sifting. Unless you're following this chocolate chip cookie recipe or another classic recipe that calls for sifting, simply fluff and measure as directed.
Onto the great news: Aerating flour couldn't be easier. If you're used to scooping flour straight from a giant bag in your pantry or large glass vessel tucked in the far corner of your kitchen counter, grab a spoon or fork and use these utensils to mix directly in your container of flour to redistribute and fluff the contents. This way, when you actually measure out your flour, you're not running the risk of accidentally packing it too tightly into those measuring cups.
When it comes to actually measuring out flour after aerating, instead of sticking an entire measuring cup inside your newly fluffed bag, use a spoon to scoop out the recommended amount of pulverized wheat one spoonful at a time. Then, hold your overfull measuring cup over your bag of flour and remove any excess flour with a smooth swipe using a butter knife. This method ensures accuracy without any fancy tools. Speaking of kitchen gadgets: What is the best way to measure flour? And are extra tools really necessary to get the job done right?
You don't need expensive extras to achieve precise measurements
If achieving the ideal consistency is the most crucial element in following your grandma's strawberry scone recipe, you may want to start using a scale for baking and thank us later. Using a digital kitchen scale has a plethora of benefits. You can usually measure all of your ingredients in one handy bowl, especially if you're making an easy recipe like chocolate chip banana bread. Not only can you follow the recipe exactly, but you're typically left with less of a mess to clean since you don't need to use every measuring cup and spoon in the preparation process. But is owning a digital scale the only way to achieve ideal results from your baking ventures?
The one true way to know if your flour is being measured with enough accuracy (besides relying on a food scale) is to fluff your bag or container of flour with a spoon or fork before scooping the contents into those trusted measuring cups. This not only prevents overpacked flour from making it into your next recipe, but aerating flour may lead to lighter, more evenly textured baked treats as well.


