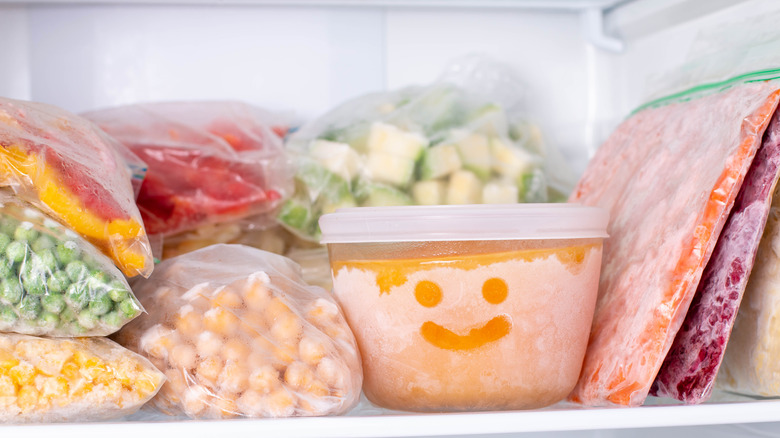
Inspecting Your Freezer Seal Will Save Your Leftovers From Frost
A well-stocked freezer brings peace of mind. Whether full of ice cream or convenient dinners you didn't realize you can cook straight from the freezer, a well-stocked freezer is a convenience that can make your life easier.
However, frozen food has a best-by-date. For one thing, freezer burn happens because of a scientific process that is virtually unavoidable. Frost is a telltale sign of freezer burn. The ice in frozen food works its way to the surface and evaporates in a process called sublimation, per Healthline. As ice moves, it can damage the food's structure, and the evaporated moisture means the food will be dry, tough, and discolored. While freezer-burnt foods are perfectly safe to eat, they're unpleasant.
To minimize freezer burn, ice crystals in the food need to be as small as possible. Temperatures below 0 degrees Fahrenheit ensure tiny ice crystals. Use the smallest containers possible to minimize oxygen's access to the food. For food that doesn't fill up the storage container, lay a sheet of freezer paper or plastic wrap onto the surface before the lid. If not in a container, food should be wrapped in freezer paper or plastic wrap, foil, and finally, a freezer bag. Ideally, food wouldn't linger in the freezer beyond two to four months. And, since opening the door too much can cause frost to form, you need to make sure the freezer door is closed and sealed completely.
How to inspect your freezer seal
According to Easy Appliance Parts, the air-tight seal on freezers and refrigerators depends on a rubber gasket. Faulty gaskets allow warm air in, creating frost, encouraging freezer burn, and causing the appliance to run more often to maintain proper temperature. They're simple to replace, but most are between $100 and $200. At that price, it's best to keep the one you have for as long as possible. With regular cleaning, a gasket can last the lifetime of the freezer.
Bosch suggests using a soft cloth, warm water, and a mild detergent to clean the gasket. Avoid using anything abrasive, which can damage the part. Most food residue and debris will only take a few wipes to disappear, but be sure to get into the baffles of the gasket. Tears or holes in the gasket mean it should be replaced.
If the gasket appears solid and you still see frost forming in your freezer, the seal might not be tight. That can happen if the gasket becomes dislodged or misshapen. Southern Living recommends using a dollar bill to check the seal. Close the door onto the bill, leaving half of the bill in the freezer, and half sticking out. The bill should meet some resistance as you pull it out. Perform this test in a few locations. If the bill slips out easily, reinspect the gasket for any debris you missed and make sure that the gasket hasn't come loose. Press on the gasket and retest.
Freezer seal maintenance is simple
No More Leaks on YouTube explains a way to prolong the life of your gasket with Vaseline. After cleaning the gasket, a swipe of Vaseline along the gasket will ensure a full seal. Plus, the petroleum jelly acts similarly to lotion on dry hands: It'll keep the gasket pliable for longer. It's also an ideal lubricant for pushing a loose gasket back into place.
If cleaning and some petroleum jelly aren't solving the leaky gasket, it's time for a new one. On YouTube, Repair Clinic explains how to remove and replace the three styles of gaskets. Their website can also help you find the correct gasket for your appliance.
Once you have a new gasket, you'll need to install it. A hairdryer is crucial to this process. Lay the gasket onto a large flat surface and gently heat with the hair dryer while undoing any folds or twists. The hairdryer can also be used after installation to smooth out any lumpy, stubborn portions. Those sections should work themselves out after a few days. After that, start stocking up on staples that should be in every freezer.


